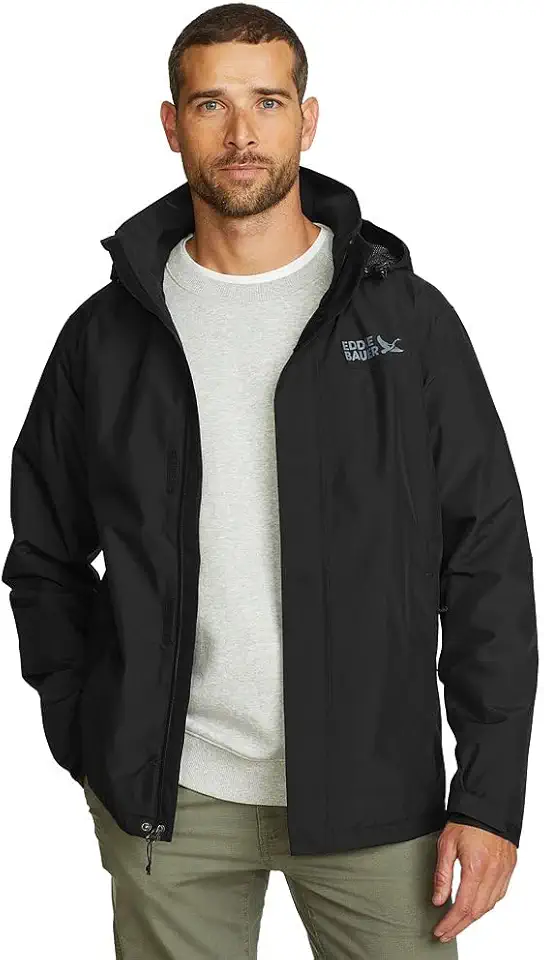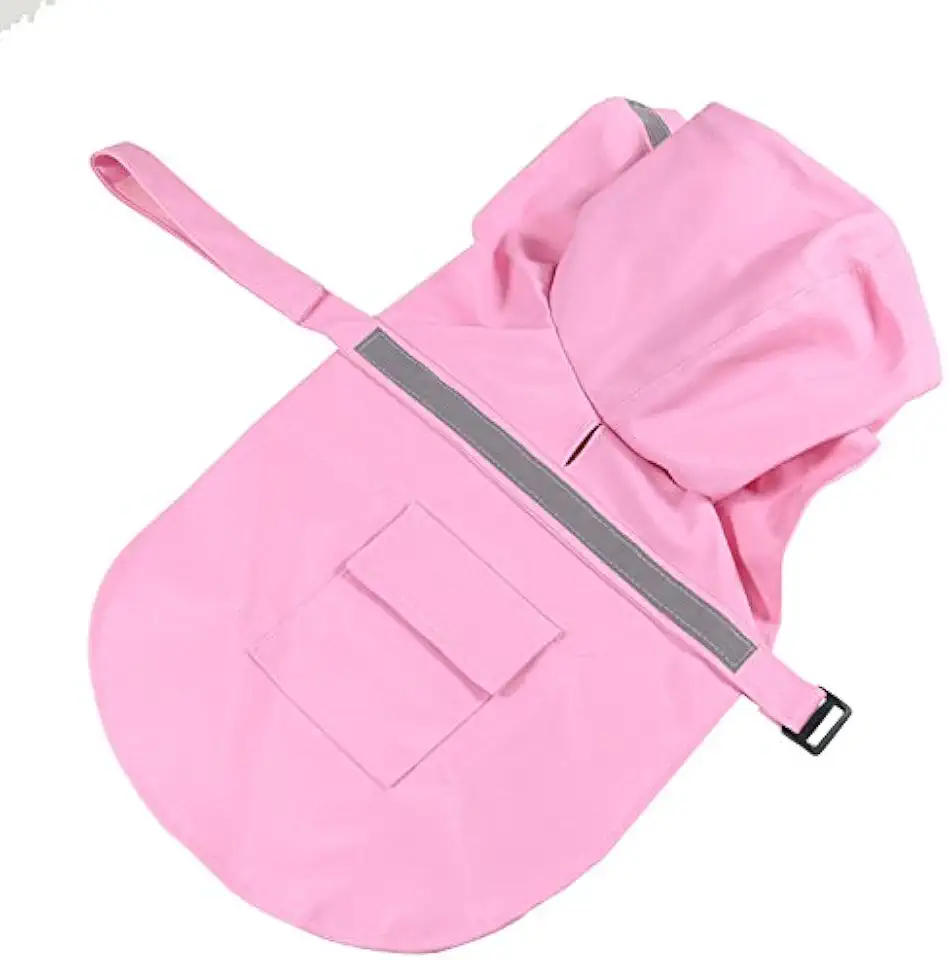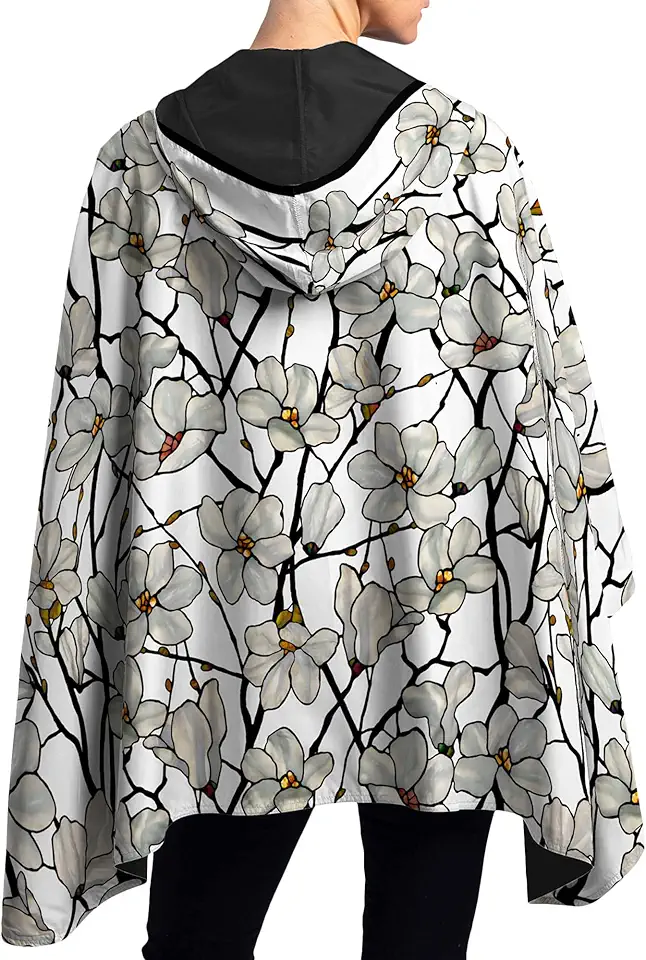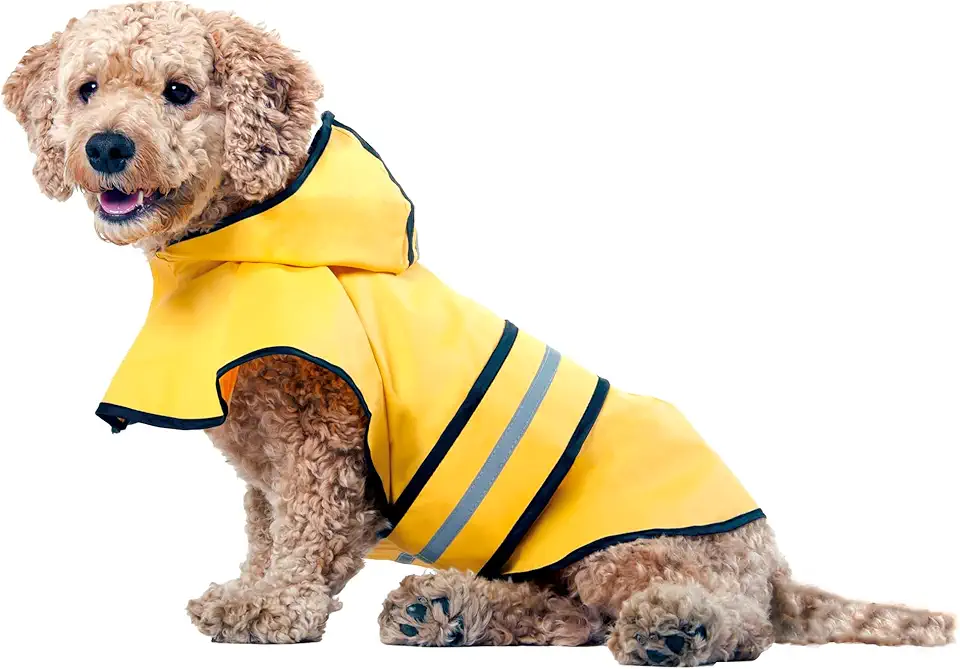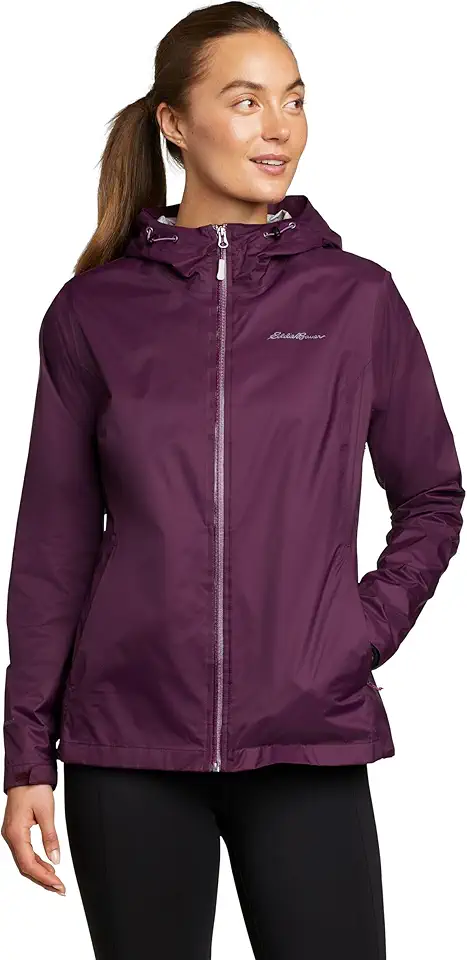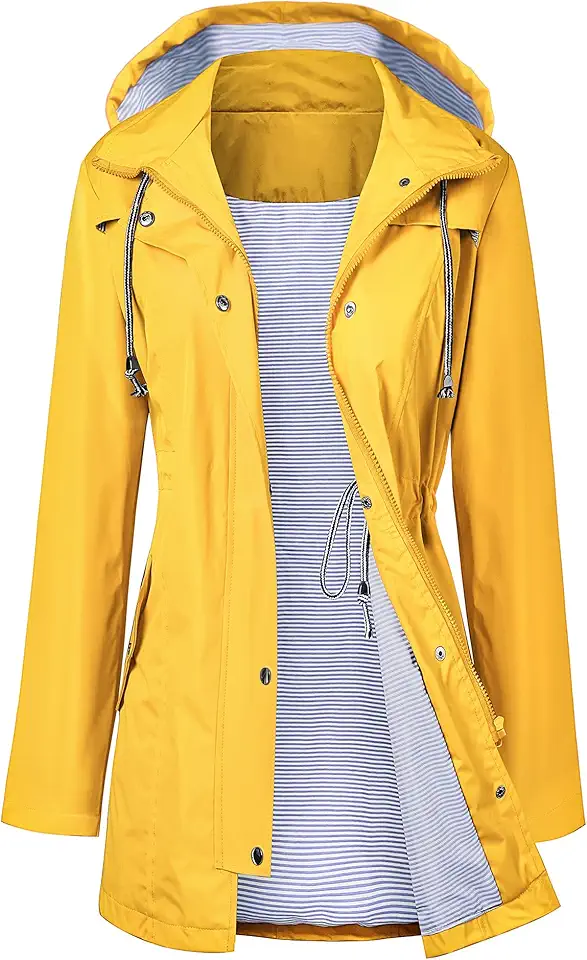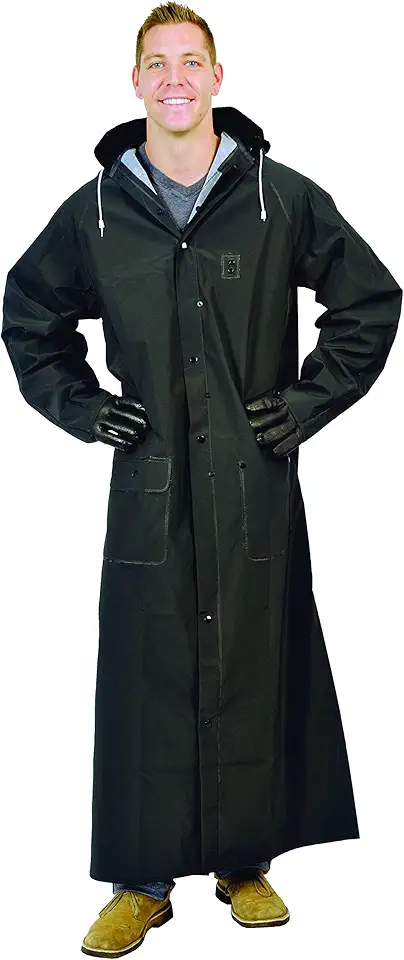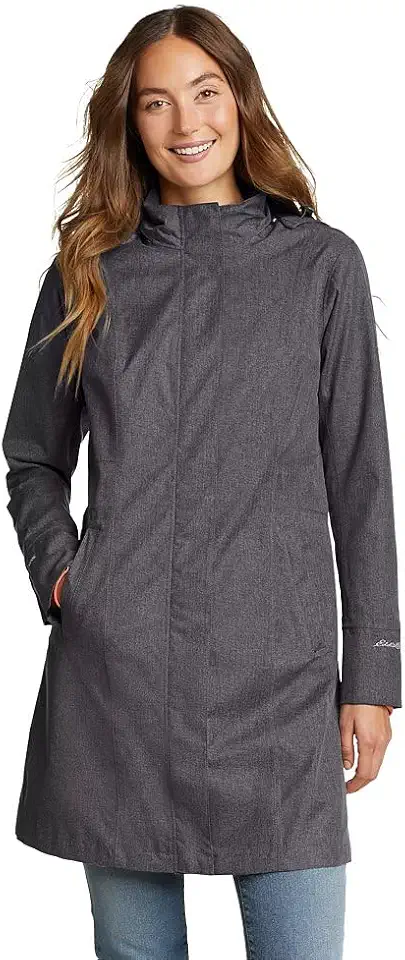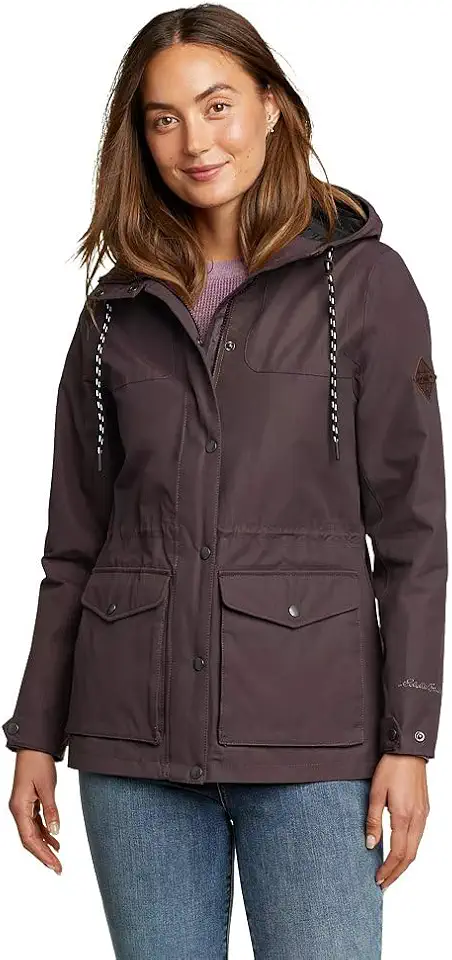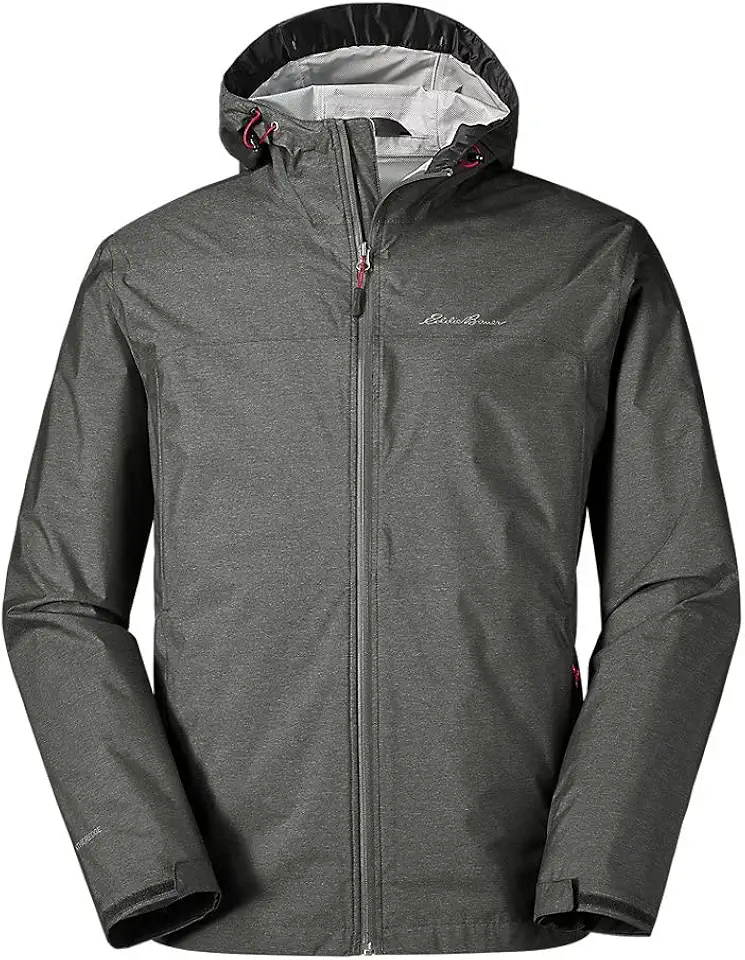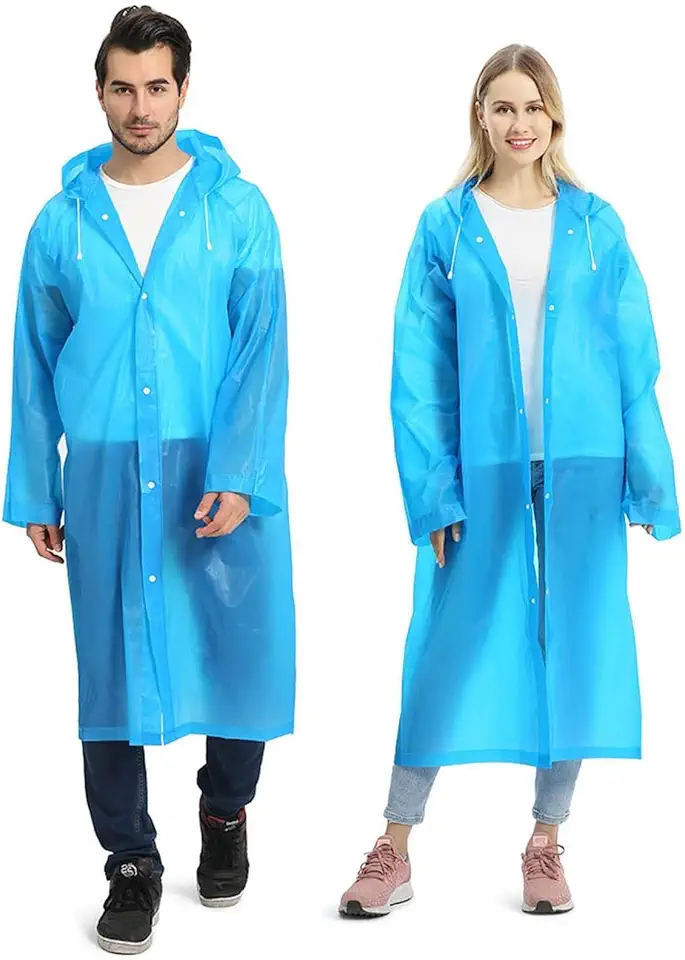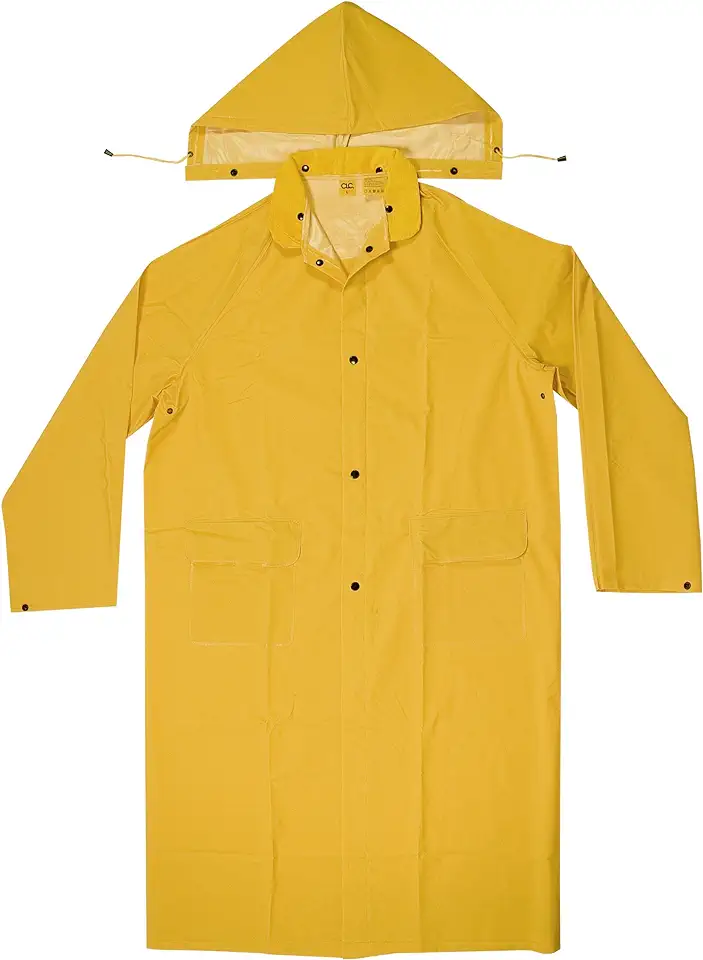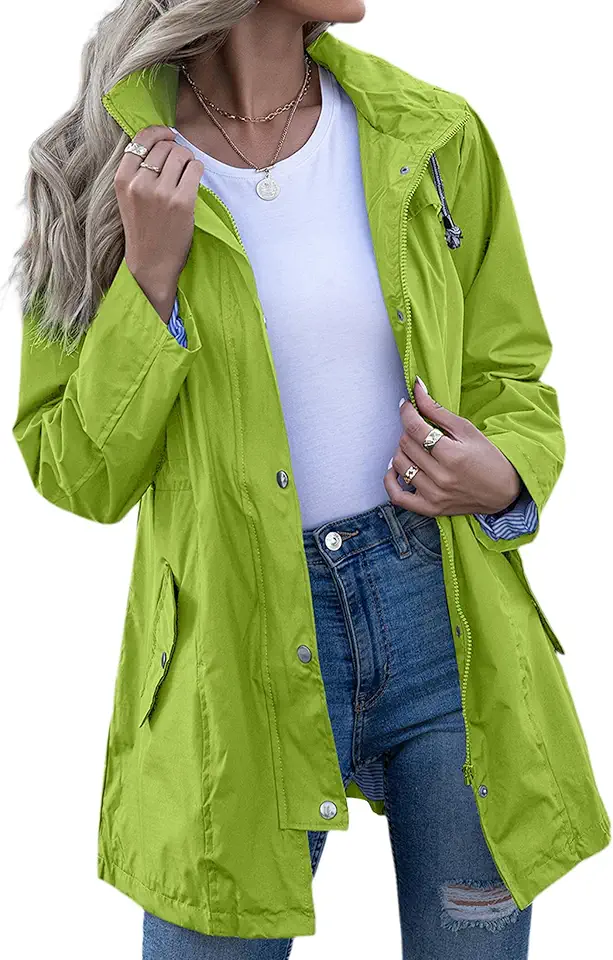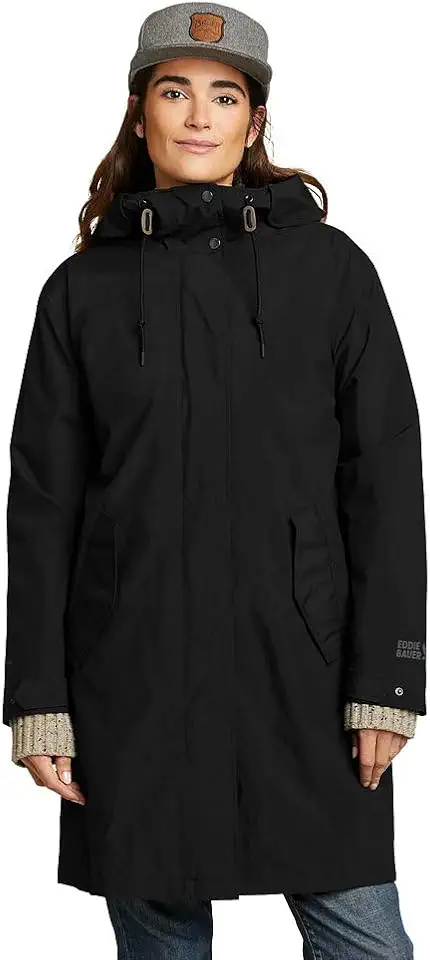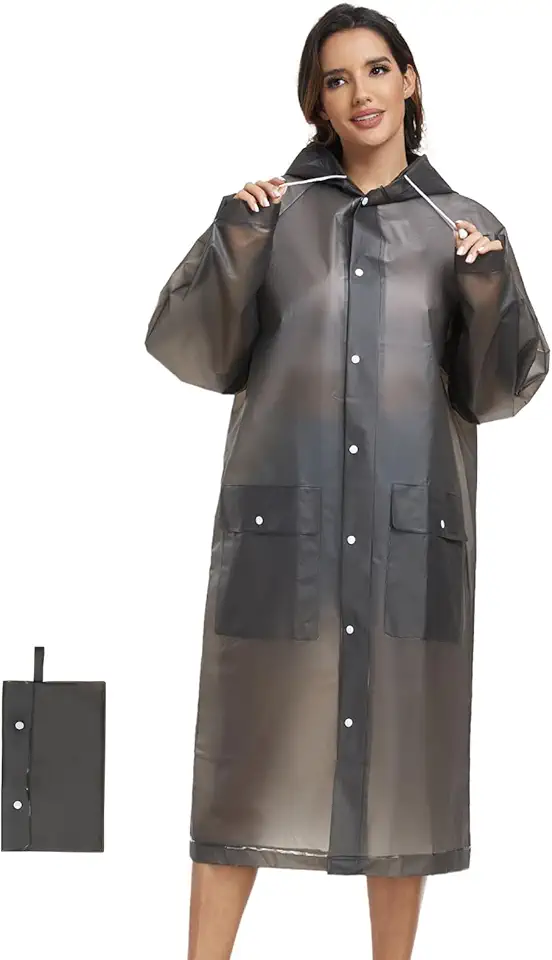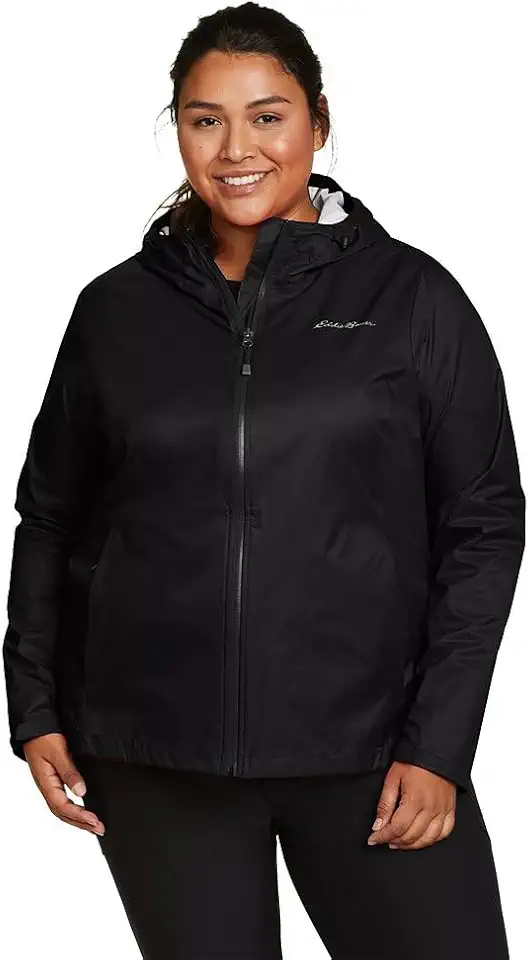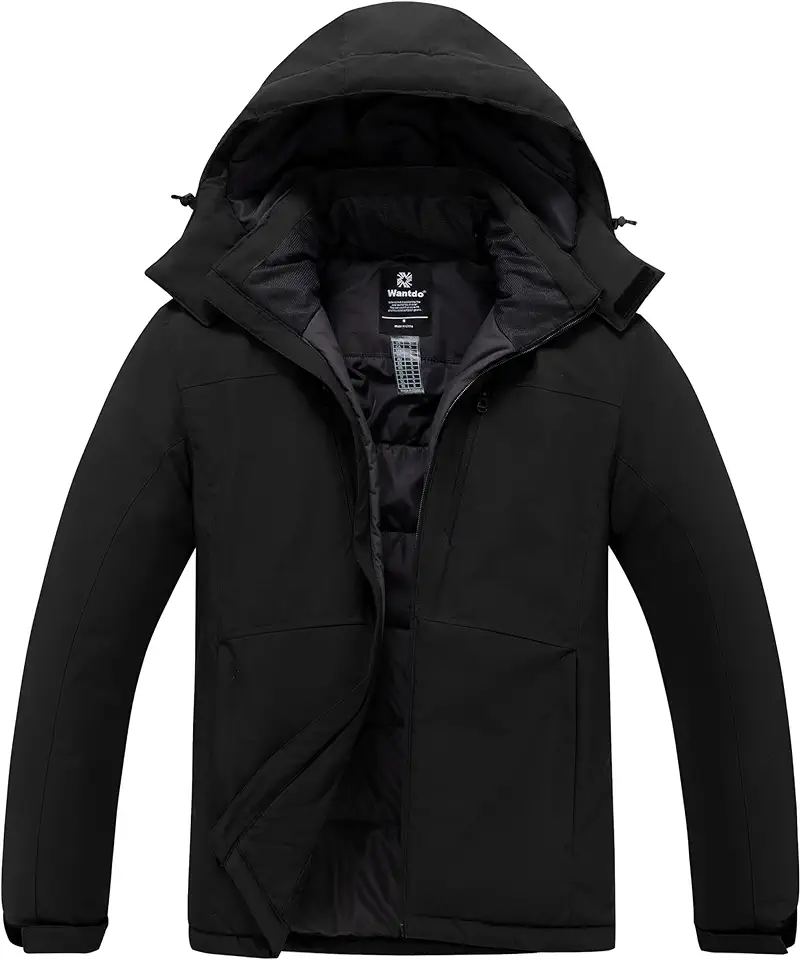
Raincoats are jackets made of fabric that is treated to repel water. The process of making a raincoat involves several steps, from waterproofing the fabric to sewing the pieces together. The first step in making a raincoat is waterproofing the fabric, which can be done through various treatments such as using chemicals, rubber, or vinyl. The fabric is then cut into patterns of different sizes using a computer-operated or electrical cutter. The lining is placed inside the desired stitched parts, such as collars and pockets, and fused using heat. The different parts of the raincoat are then sewn together using industrial sewing machines. Buttonholes are made, and buttons are sewn on, often using automatic machines. Finally, the raincoat undergoes quality inspection, and tags are attached before being packed in polybags.
| Characteristics | Values |
|---|---|
| Purpose | To shield the wearer from rain |
| Fabric | Cotton, polyester, nylon, rayon, wool, wool gabardine, vinyl, microfibers, high-tech fabrics, silk, linen, rubber |
| Fabric Blend | A combination of two or more fabrics |
| Waterproofing Materials | Resin, pyridinium or melamine complexes, polyurethane, acrylic, fluorine or Teflon |
| Waterproofing Process | Fabric is treated with chemicals, soaked, heated, cooled, and re-rolled |
| Manufacturing Process | Computer-controlled machines, cutting, lining, fusing, sewing, assembling, quality inspection, tagging, packing |
Explore related products
What You'll Learn

Waterproofing the fabric
The process of waterproofing the fabric for raincoats involves several steps. Firstly, the fabric passes through rollers and is then immersed in a tank containing a bath of waterproofing chemicals. This allows the chemicals to soak into the fabric. The fabric is then removed from the bath and heated to ensure the chemicals are absorbed evenly.
After the heating process, the fabric is passed through another set of rollers and then cooled down. This cooling process allows the chemicals to harden and permanently adhere to the fabric. Finally, the treated fabric is re-rolled into bolts and prepared for shipment to raincoat manufacturers. This automated process ensures that the fabric is effectively waterproofed and ready for the next stages of raincoat production.
The waterproofing chemicals used can vary depending on the type of fabric. For example, cotton, wool, and nylon may be treated with a coating of resin, while cheaper cotton and wool fabrics may be immersed in paraffin emulsions and salts of metals like aluminium or zirconium. Synthetic fabrics, on the other hand, may be treated with methyl siloxanes, and natural fibres such as cotton and linen may be treated with wax.
Sport Coat Chest Size Guide for Men
You may want to see also

Cutting the fabric
The process of cutting the fabric is a crucial step in raincoat manufacturing. After the fabric has been waterproofed and rolled into bolts, it is ready to be cut according to specific patterns and sizes. This step requires precision and accuracy to ensure that the raincoat pieces fit together perfectly during assembly.
The cutting process typically involves using a cutter that is either electrical or computer-operated. This advanced technology ensures efficiency and accuracy in cutting the fabric. The cutter follows pre-determined patterns that have been graded for each size the raincoat will be offered in. This means that the cutter can create multiple sizes, from small to large, ensuring a wide range of options for consumers.
The fabric is cut into various parts that will make up the different sections of the raincoat. These include the body, sleeves, collar, cuffs, pockets, and more. Each piece is carefully cut to ensure that it aligns with the corresponding part during the sewing process. The cutting process is a critical step as it determines the overall fit, shape, and style of the final product.
Once the fabric pieces are cut, they are ready for the next step in the manufacturing process, which involves placing the lining and fusing it with the fabric using heat and pressure. This step adds structure and stability to the raincoat, ensuring it holds its shape and functions effectively as an outer garment.
The cutting process is a crucial step in ensuring the quality and functionality of the raincoat. A precise and accurate cut guarantees that the raincoat will provide adequate protection from the rain and fit the wearer comfortably. It also allows for design variations, such as different styles and sizes, catering to a diverse range of consumers.
Dolly's Coat Sequel: Will She Return?
You may want to see also

Sewing the fabric
Once the fabric has been waterproofed and cut into the appropriate patterns, the next step in making a raincoat is to sew the fabric. The lining is placed inside the desired stitched part, such as the collar, cuffs, front facings, sleeve straps, belts, and pockets. The fusing machine, which uses heat, fuses the interlining to the fabric. An industrial sewing machine operator then sews all the small parts of the raincoat, including the collar, belt, sleeve straps, and pocket welts. The facings (the underply of the coat that is sewn to the front edge) are set to the front edges of the fabric shell that makes up the coat's exterior, also done by a worker using an industrial sewing machine.
The large parts of the shell of the raincoat are then assembled on an industrial sewing machine by a worker. Most come in pairs. First, the right back panel and left back panel are joined together, creating a back seam. Then, the rest of the large parts of the raincoat (the front, the sleeves, etc.) are created in a similar fashion. On a separate line in the factory, a lining is sewn into the appropriate pieces of the shell by a person. All the large pieces of the raincoat are now assembled and sewn together by a worker using an industrial sewing machine.
Poughkeepsie Burlington: Opening Hours
You may want to see also
Explore related products

Sealing and taping the seams
The process of sealing the seams involves applying a waterproof tape or sealant to the stitched areas of the raincoat. This step is crucial because the needle holes created during sewing can allow water to penetrate the garment. By sealing the seams, these holes are covered, creating a barrier that prevents water from passing through. The sealant or tape used in this process is typically made from a waterproof material, such as polyurethane or a similar compound, ensuring that the seams are just as waterproof as the fabric itself.
The taping process involves placing a thin strip of waterproof tape over the sealed seam. This adds an extra layer of protection and further ensures that no water can penetrate the garment through the seams. The tape used in this process is often clear or matches the colour of the fabric, making it inconspicuous. It is applied using heat or pressure-sensitive adhesives, creating a strong bond between the tape and the fabric.
In addition to sealing and taping the seams, other areas of the raincoat, such as zippers and buttons, also require special attention. Zippers, for example, are coated with a rubberized material or covered with a storm flap to prevent water from seeping through. Buttons may also have a waterproof coating or be covered with a flap to keep out the rain.
Overall, the process of sealing and taping the seams is a critical step in the construction of a raincoat. It ensures that the garment can effectively protect the wearer from the elements, providing a waterproof barrier that keeps them dry and comfortable during rainy weather.
Laundry Label Symbols: Decoded
You may want to see also

Adding fasteners and accessories
Once the fabric has been treated to make it waterproof, the next step in the raincoat manufacturing process is to cut the fabric into the appropriate patterns and sizes using a cutter that is either electrical or computer-operated. The lining is then placed inside the desired stitched parts, such as the collars, caps, and pockets, and then passed through a fusing machine, which uses heat to put the lining properly into the fabric.
After this, fasteners and accessories can be added to the raincoat. Buttons and buttonholes are made on the raincoat through automatic machines. The industrial sewing machine operator then sews all the small parts of the raincoat, including the collar, belt, sleeve straps, and pocket welts. The facings (the underply of the coat that is sewn to the front edge) are set to the front edges of the fabric shell, which forms the coat's exterior.
The large parts of the shell of the raincoat are then assembled on an industrial sewing machine. Most of these parts come in pairs. First, the right and left back panels are joined together, creating a back seam. Then, the rest of the large parts of the raincoat, such as the front and sleeves, are created in a similar fashion.
Finally, all the large pieces of the raincoat are assembled and sewn together by a worker using an industrial sewing machine. The trim and sleeves are sewn on by hand, along with the belt.
Finding the Perfect Fit: A Guide to Measuring Your Child's Coat Size
You may want to see also
Frequently asked questions
Raincoats are made of waterproof or water-resistant fabric, such as Gore-Tex, Tyvek, vinyl, cotton, polyester, nylon, wool, wool gabardine, and microfibers.
The manufacturing process for raincoats involves waterproofing the fabric, cutting the fabric into patterns, sewing the pieces together, and adding buttons and other finishing touches.
A rain jacket is a type of raincoat that has long sleeves and is waist-length. It may be combined with rain pants to form a rainsuit.
The first modern raincoats were invented in the 19th century by Charles Macintosh, who patented a method for combining rubber with fabric.
Raincoats offer hands-free protection from the rain and elements, unlike an umbrella. They are also lightweight, durable, flexible, and easy to clean.
