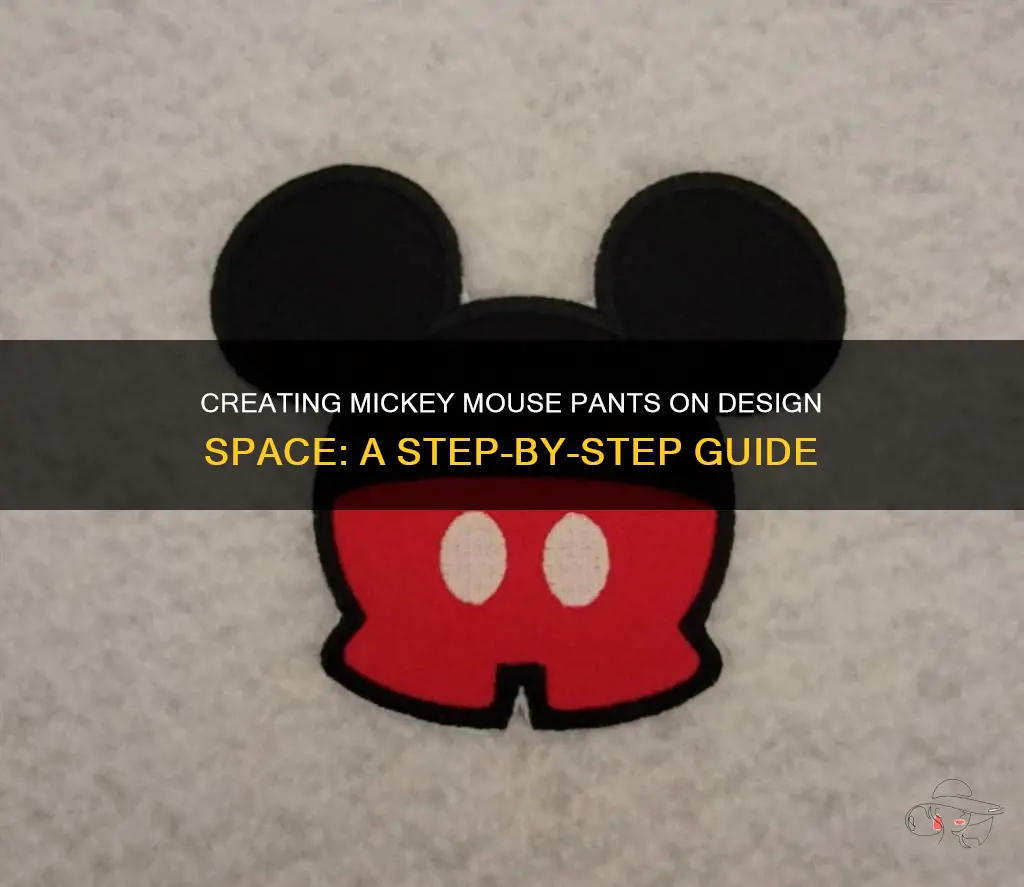
Mickey Mouse, the iconic character that has captured the hearts of millions around the world, has been a beloved figure in the realm of cartoons for decades. His distinctive attire, including his red shorts with oversized yellow buttons, has become synonymous with his joyful and adventurous personality. If you're a fan of this timeless character and have access to a Cricut machine and Design Space software, then you're in luck! In this guide, we will show you how to create your very own Mickey Mouse pants design using Design Space, allowing you to bring a touch of Disney magic to your wardrobe or creative projects. So, grab your fabric, thread, and Cricut machine, and let's dive into the wonderful world of Mickey Mouse fashion!
| Characteristics | Values |
|---|---|
| Fabric Type | Cotton |
| Fabric Color | Blue |
| Waistband Type | Elastic |
| Waistband Color | Black |
| Leg Opening Type | Straight |
| Leg Opening Color | Black |
| Length | 3/4 |
| Pockets | None |
| Fastening Method | None |
| Embellishments | None |
| Ironing Instructions | Low heat |
| Stitching Type | Straight |
| Stitching Color | White |
| Fit | Relaxed |
| Cleaning Instructions | Machine wash |
| Special Care Instructions | None |
What You'll Learn
![]()
Introduction to making Mickey Mouse pants on Design Space

Design Space is a powerful software that allows users to unleash their creativity and create amazing designs. One popular design that many people love to create is Mickey Mouse pants. If you are new to Design Space or simply want to learn how to make Mickey Mouse pants, this blog post is for you.
To get started, you will first need to open Design Space and create a new project. Once you have your blank canvas, you can begin designing your Mickey Mouse pants.
Step 1: Select a Pant Shape
In Design Space, you have a wide variety of shapes to choose from. To create Mickey Mouse pants, you can start with a basic pant shape. To do this, click on the "Shapes" icon on the left-hand side of the screen. Then, choose a rectangle shape and resize it to your desired dimensions. This will be the main body of the pants.
Step 2: Add the Waistband
Next, you will need to add a waistband to your Mickey Mouse pants. To do this, click on the "Shapes" icon again and choose a smaller rectangle shape. Resize this rectangle to be slightly smaller than the main body of the pants. Position it at the top of the pants to create the waistband.
Step 3: Create the Leg Openings
Now, it's time to create the leg openings of the Mickey Mouse pants. To do this, click on the "Shapes" icon once more and choose a circle shape. Resize the circle to be the desired size for the leg openings. Duplicate the circle shape and position them on both sides of the main body of the pants.
Step 4: Add the Buttons
No Mickey Mouse pants would be complete without the signature buttons. To add buttons to your design, click on the "Shapes" icon and choose a small circle shape. Duplicate the circle shape to create as many buttons as you like. Position them on the waistband of the pants.
Step 5: Customize the Design
At this point, you have the basic design for your Mickey Mouse pants. However, you can customize the design further to make it unique. You can add patterns, colors, or even Mickey Mouse's face on the pants. To add patterns or colors, click on the desired shape or element and select a fill color or pattern from the toolbar at the top. To add Mickey Mouse's face, you can search for SVG files or use images that are available in Design Space.
Step 6: Cut and Assemble
Once you are happy with the design, it's time to cut and assemble your Mickey Mouse pants. Follow the prompts in Design Space to connect your cutting machine and load the appropriate material. Then, click on the "Make It" button to prepare your design for cutting. After your design has been cut, you can start assembling the pants by gluing or stitching the different pieces together.
And that's it! With these simple steps, you can create your own Mickey Mouse pants on Design Space. Get creative and have fun designing your own unique pair of Mickey Mouse pants. Happy crafting!
How to Style Black Sandals with White Pants: A Fashion Guide
You may want to see also
![]()
Step-by-step tutorial for creating Mickey Mouse pants on Design Space

Design Space is a versatile software for creating amazing designs, and if you're a fan of Mickey Mouse, you might want to create your own Mickey Mouse-themed pants. In this step-by-step tutorial, we will guide you through the process of making a Mickey Mouse pants design using Design Space.
Open and create a new project in Design Space.
- Launch the Design Space software on your computer and sign in to your account.
- Click on the "New Project" button to start a new project.
Select the Shape tool and choose a square shape.
- On the left-hand side panel, click on the "Shapes" tool.
- From the available shapes, select the square shape.
Resize and position the square shape to resemble pants.
- Use the corner handles to resize the square shape into a rectangle that resembles pants.
- Click and drag the shape to position it appropriately on the canvas.
Change the color of the pants shape.
- On the right-hand side panel, click on the "Fill" option.
- Choose a color from the color wheel or enter the specific color code to match Mickey Mouse's pants.
Add belt loops to the top of the pants shape.
- Select the "Shapes" tool again and choose a small square shape.
- Resize and position the square shape on the top edge of the pants shape to resemble belt loops.
- Duplicate the square shape and place additional belt loops evenly across the top edge of the pants.
Change the color of the belt loops.
- Select each belt loop shape individually.
- On the right-hand side panel, click on the "Fill" option.
- Choose a color for the belt loops that matches the pants or a complementary color.
Add buttons to the front of the pants.
- Select the "Shapes" tool and choose a small circle shape.
- Resize and position the circle shape on the front of the pants to resemble buttons.
- Duplicate the circle shape and place additional buttons evenly down the front of the pants.
Change the color of the buttons.
- Select each button shape individually.
- On the right-hand side panel, click on the "Fill" option.
- Choose a color for the buttons that matches the pants or a contrasting color.
Add Mickey Mouse's iconic silhouette to one leg of the pants.
- Go to the "Images" tab and search for "Mickey Mouse silhouette."
- Select a suitable silhouette image and insert it onto the canvas.
- Resize and position the silhouette image on one of the pants legs.
Change the color of the Mickey Mouse silhouette.
- On the right-hand side panel, click on the "Fill" option.
- Choose a color that stands out on the pants, such as black.
Group and align all the design elements.
- Select all the design elements by holding down the "Shift" key and clicking on each element.
- Right-click on any of the selected elements and choose the "Group" option.
- Use the alignment tools in Design Space to ensure all the elements are properly aligned and centered.
Save and cut your design.
- Once you're satisfied with the design, click on the "Make It" button.
- Follow the prompts to connect your cutting machine, load the materials, and cut the design.
By following these step-by-step instructions, you can create your own Mickey Mouse pants design using Design Space. Let your creativity shine and customize the design to make it uniquely yours. Happy crafting!
The Ultimate Guide to Styling Double Knee Pants
You may want to see also
![]()
Tips and tricks for perfecting your Mickey Mouse pants design on Design Space

If you are a fan of all things Disney, there is a good chance you have seen the iconic Mickey Mouse pants design. This classic design features the silhouette of Mickey Mouse's pants, complete with two large circles for the buttons. If you are looking to create your own Mickey Mouse pants design on Design Space, the following tips and tricks will help you achieve a perfect design.
- Start with a basic shape: Begin by using the shape tools in Design Space to create the basic outline of Mickey Mouse's pants. Use a rectangle shape for the legs of the pants and a smaller rectangle shape for the waist area. Adjust the size and position of the shapes to create the desired look.
- Add the buttons: Mickey Mouse's pants are often recognized by the two large buttons on the front. To create the buttons, use the circle shape tool in Design Space. Place two circles at the top corners of the waist area. Adjust the size of the circles to make them proportionate to the rest of the design.
- Make the pants look dimensional: To give the pants design a three-dimensional look, you can add shading or highlights. Use the shape tools to create smaller rectangles that fit inside the main leg shape. Then, change the color of the smaller rectangles to a shade darker or lighter than the main color of the pants. Place the rectangles strategically to create the illusion of shading or highlights.
- Use the slice tool for precise cutouts: If you want to add details to the pants design, such as pockets or belt loops, you can use the slice tool in Design Space. Simply overlap the shapes that you want to cut out, select both shapes, and click on the slice tool. This will create separate cutout pieces that you can position and resize as desired.
- Experiment with different colors and patterns: Mickey Mouse pants are commonly seen in a solid black color, but you can get creative with your design by using different colors or patterns. Design Space offers a wide range of colors and patterns that you can choose from. Play around with different combinations until you find the perfect design that suits your style.
- Preview and adjust your design: Before cutting your design, take advantage of the preview option in Design Space. This will allow you to see how your design will look when it is completed. If you are not satisfied with the placement or size of any element, you can go back and make adjustments as needed.
- Don't forget to mirror your design: When cutting your design with a cutting machine, it is important to remember to mirror or flip your design before cutting. This is especially important if your design includes text or any other element that needs to be read or face a specific direction when applied.
Creating your own Mickey Mouse pants design on Design Space can be a fun and creative project. By following these tips and tricks, you can ensure that your design turns out perfectly. Whether you are making a Disney-themed shirt, a tote bag, or any other project, your Mickey Mouse pants design is sure to be a hit!
Styling Tips: Matching Outfits for Brown Dress Pants
You may want to see also
![]()
Customizing and personalizing your Mickey Mouse pants on Design Space

Do you love Disney's famous character Mickey Mouse? Why not showcase your love for Mickey Mouse by customizing and personalizing your own Mickey Mouse pants? With the help of Cricut's Design Space software, you can easily bring your ideas to life and create one-of-a-kind pants that will make you stand out in any crowd. In this blog post, we'll guide you through the process of creating your own Mickey Mouse pants using Design Space.
Before we begin, make sure you have the following:
- A Cricut cutting machine
- Cricut Design Space software
- A pair of plain pants (preferably in a solid color)
- Heat transfer vinyl in the colors of your choice
- Weeding tools
- Heat press or iron
Now that you have everything ready, let's get started!
Design Creation:
Start by opening Cricut Design Space on your computer or mobile device. Create a new project and select the size of your pants. You can either measure your pants or check the size guide provided by the brand.
Mickey Mouse File:
Cricut Design Space provides numerous pre-made designs, including Mickey Mouse shapes. Search for "Mickey Mouse" in the image library and choose a design that you like. You can adjust the size and position of the image to fit your pants.
Text Addition (Optional):
If you want to add text to your Mickey Mouse pants, click on the "Text" button in Design Space and type in your desired text. You can choose from a variety of fonts and play around with the size and position to achieve the desired look.
Design Layout:
Once you are satisfied with the design, it's time to create a layout for your pants. Mirror the design horizontally so that it appears correctly when transferred onto the pants. Place the design on the left or right leg of your pants, depending on your preference.
Cutting and Weeding:
Now, you are ready to cut the design. Follow the prompts in Design Space to connect your Cricut cutting machine to your device and load the heat transfer vinyl. Make sure to select the appropriate material setting for the vinyl you are using. Once the cutting is complete, weed out the excess vinyl using weeding tools.
Heat Transfer:
Preheat your heat press or iron according to the instructions provided with your heat transfer vinyl. Place the pants on a flat surface and position the design on the desired area. Apply firm pressure with the heat press or iron for the recommended duration. Be sure to follow the specific guidelines provided with your heat transfer vinyl.
Peeling and Final Touches:
Allow the design to cool down for a few minutes or as per the recommendations from your heat transfer vinyl manufacturer. Once cooled, carefully peel off the carrier sheet. If any parts of the design didn't adhere properly, you can reapply heat and pressure as needed.
Finishing Touches:
Now you have your customized Mickey Mouse pants! To ensure that your design lasts longer, turn your pants inside out before washing and follow the washing instructions provided with your heat transfer vinyl.
By following these steps, you can easily create your own Mickey Mouse pants using Cricut's Design Space. Get creative and have fun designing your unique Mickey Mouse pants to show off your love for Disney and Mickey Mouse in style!
How to Style Blue Dress Pants: Fashion Tips and Ideas
You may want to see also
Frequently asked questions
To make Mickey Mouse pants on Design Space, you can start by importing or creating a Mickey Mouse silhouette image. Then, use the shapes and tools available in Design Space to create the pants shape. You can adjust the size and proportions as needed.
Yes, you can find pre-made Mickey Mouse pants designs in the Design Space image library or in various online marketplaces. Simply search for "Mickey Mouse pants" or a similar keyword to browse through available options.
The materials you will need depends on how you plan to use the Mickey Mouse pants design. If you want to create a vinyl decal for clothing or accessories, you will need heat transfer vinyl and a heat press machine. If you want to make a Mickey Mouse pants stencil for painting or etching, you will need stencil material and appropriate crafting tools.
Yes, there are many tutorials available online that can guide you through the process of making Mickey Mouse pants on Design Space. You can find step-by-step instructions, video demonstrations, and helpful tips from other crafters who have successfully created Mickey Mouse pants designs using Design Space.


